

vue项目配置路由
发布于2022-08-03 07:01 阅读(895) 评论(0) 点赞(29) 收藏(0)
vue项目配置路由
1.手动配置
(1)在main.js中添加
import router from './router'

new Vue({
  el: '#app',
  //在app.vue中引入
  router,
  components: { App },
  template: '<App/>'
})
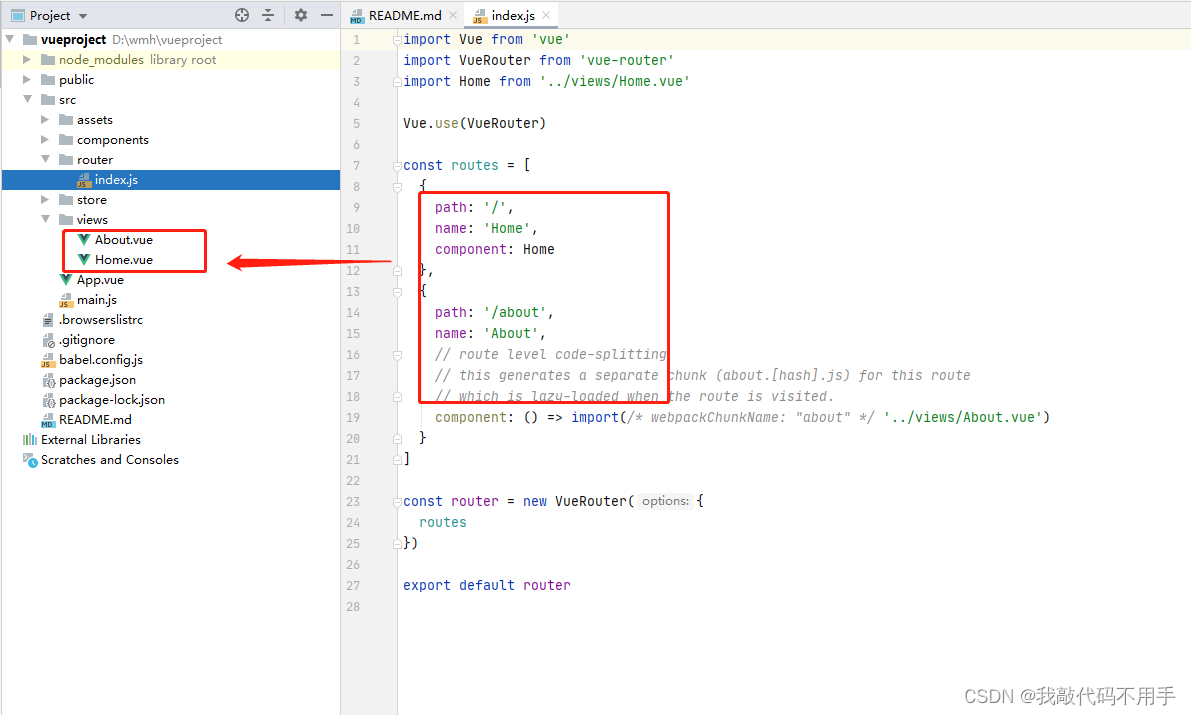
(2)在src路径下创建router文件夹,下router下创建index.js

(3)给index.js添加内容
import Vue from 'vue'
import Router from 'vue-router'

Vue.use(Router)
const originalPush = Router.prototype.push
Router.prototype.push = function push (location) {
  return originalPush.call(this, location).catch(err => err)
}
export default new Router({
//去掉url上的#
  mode: 'history',
  routes: [{
    path: '/',
    name: 'login',
    component: resolve => require(['../views/home/login'], resolve)
  },
  {
    path: '/VehicleManagementView',
    name: 'VehicleManagementView',
    component: resolve => require(['../views/home/VehicleManagementView'], resolve),
    children: [{
      path: '/Vehicleinformation',
      name: 'Vehicleinformation',
      component: resolve => require(['../views/home/Vehicleinformation'], resolve)
    },
    {
      path: '/Vehiclerental',
      name: 'Vehiclerental',
      component: resolve => require(['../views/home/Vehiclerental'], resolve)
    },
    {
      path: '/',
      name: 'homepage',
      component: resolve => require(['../views/home/homepage'], resolve)
    }, {
      path: '/video',
      name: 'video',
      component: resolve => require(['../views/home/video.vue'], resolve)
    }, {
      path: '/music',
      name: 'music',
      component: resolve => require(['../views/home/music.vue'], resolve)
    }
    ]
  }]
})

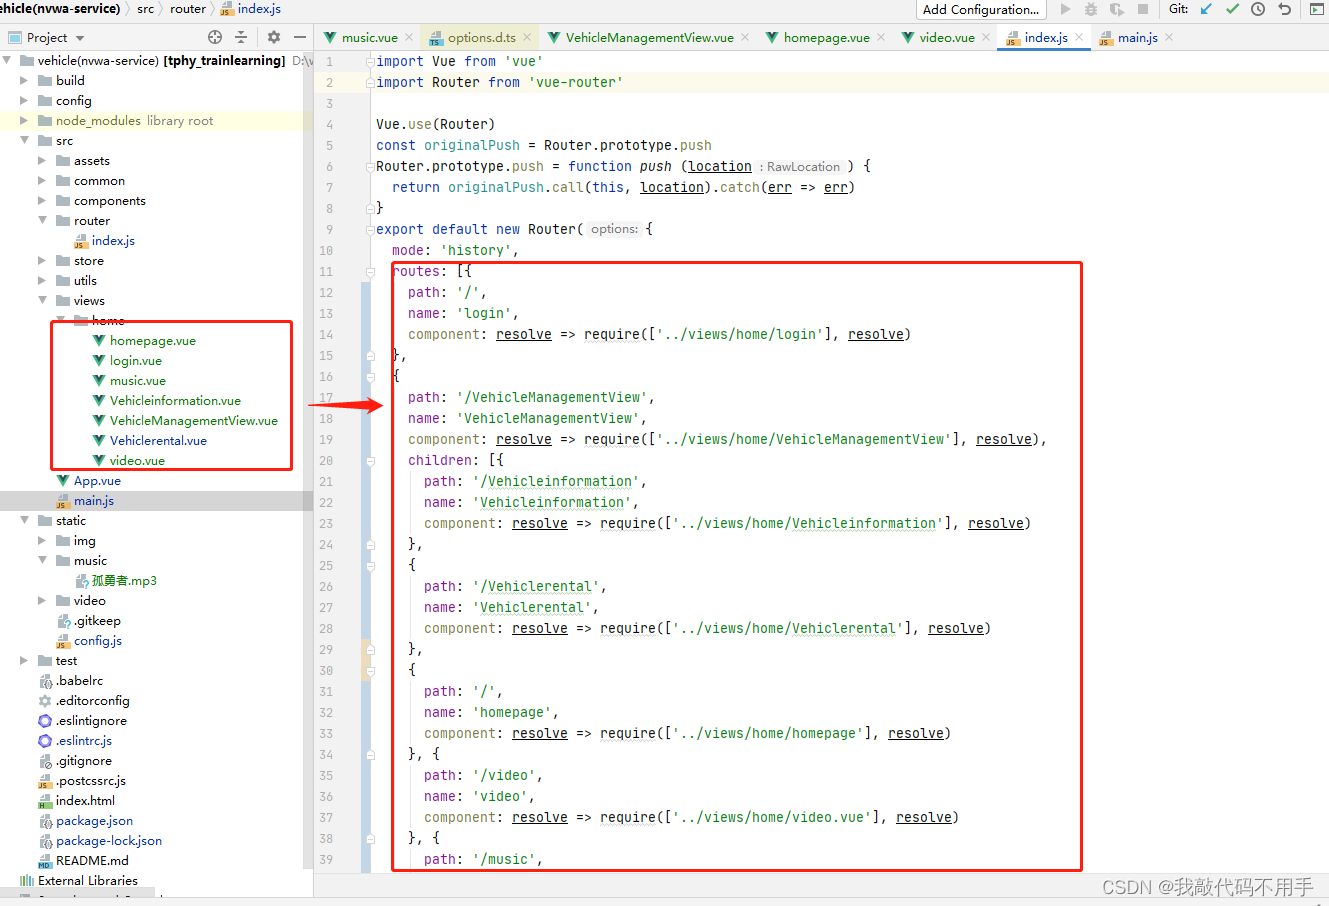
以上配置就ok了!
2.创建项目时自动配置
打开cmd命令窗口(Window + R,输入cmd然后回车)
(1)查看node.js是否安装
node -v

(2)查看npm版本
npm -v

(3)显示@vue/cli版本
vue -V

以上版本没有问题可以开始创建,以上有问题的自行下载安装。
(4)我们计划在D盘wmh文件夹下创建项目,命令窗口输入 d: 回车,再输入 mkdir wmh回车创建 wmh文件夹,再输入 cd wmh回车进入 wmh 文件夹下。

(5)使用vue create 项目名创建项目,下面一vueproject为例
vue create vueproject

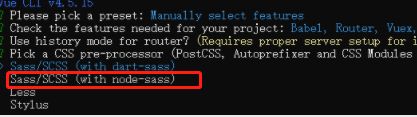
default (bable,eslint) // 默认

Manually select features // 手动 **选择手动创建项目
(6) 选择手动创建 Manually select features,按空格键选取(一定要选择Router,其他看个人需要选择)

( ) Babel                  // 支持高阶语法转换

( ) TypeScript          // 支持使用 TypeScript 书写源码

( ) Progressive Web App (PWA) Support    // 支持PWA

( ) Router             // 路由

( ) Vuex               // store

( ) CSS Pre-processors         // CSS 预处理器

( ) Linter / Formatter       // 代码风格检查和格式化

( ) Unit Testing                         // 支持单元测试

( ) E2E Testing                    // 支持E2E测试
(7)这一步提示我们是否使用历史路由器,输入 n ,回车

(8)这一步提示我们在项目里面需要支持何种动态样式语言,我们选择第二个(上下键移动键),回车
(9)这一步提示我们选择配置文件的位置,因为每个插件都有自己单独的配置文件,我们选择第一个,回车

(10)这一步提示我们是否将当前配置选项保存起来,方便下次创建项目时使用。输入 n ,回车

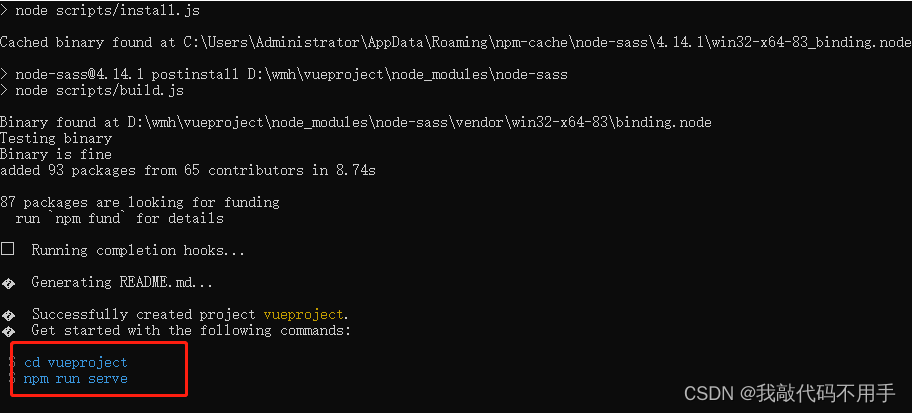
(11)等待依赖包下载

(12)cmd窗口输入命令 cd vueproject回车进入 vueproject项目中,再输入 npm run serve 回车启动服务
(13)启动服务
npm run serve
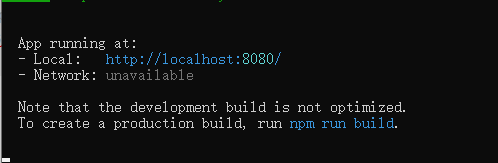
(14)到浏览器中打开url
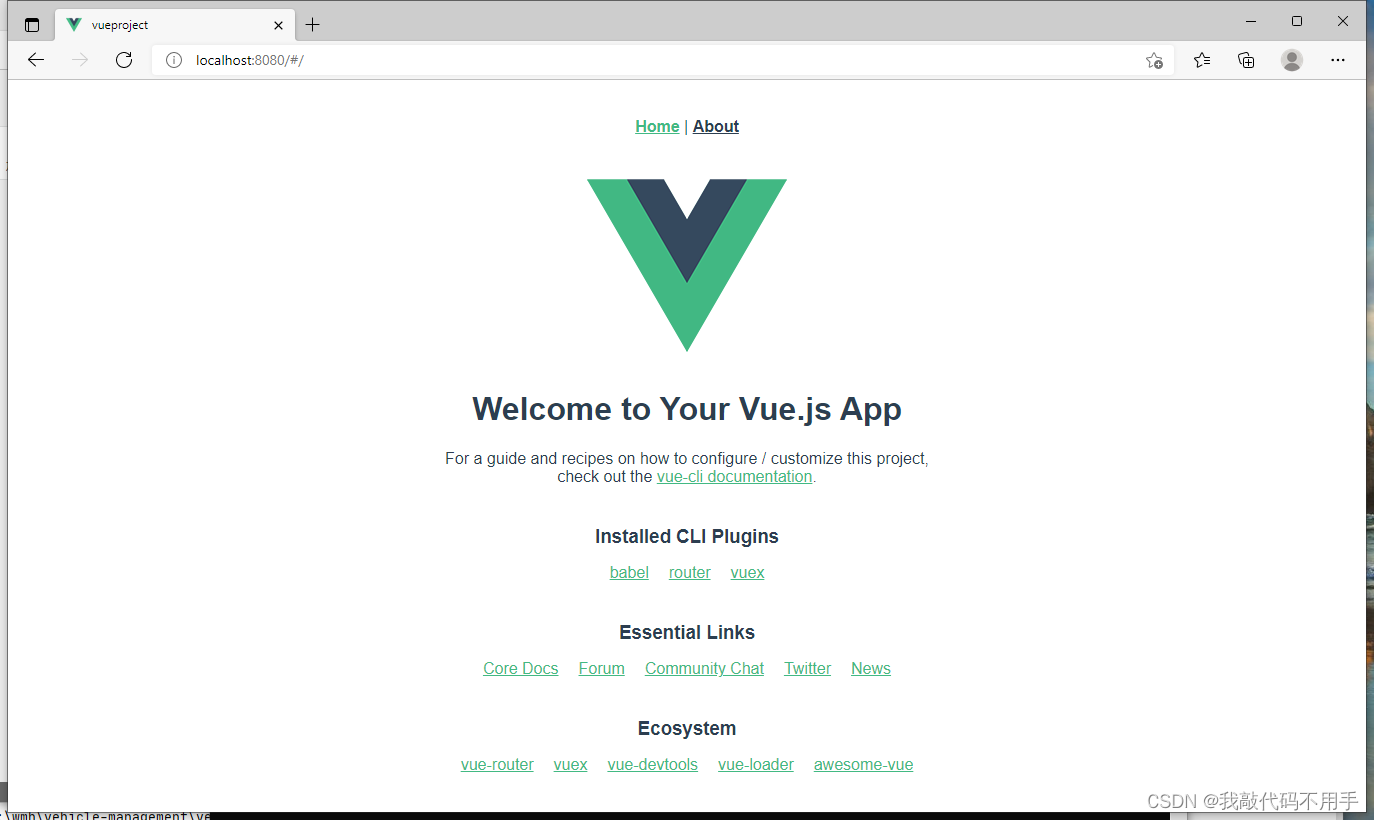
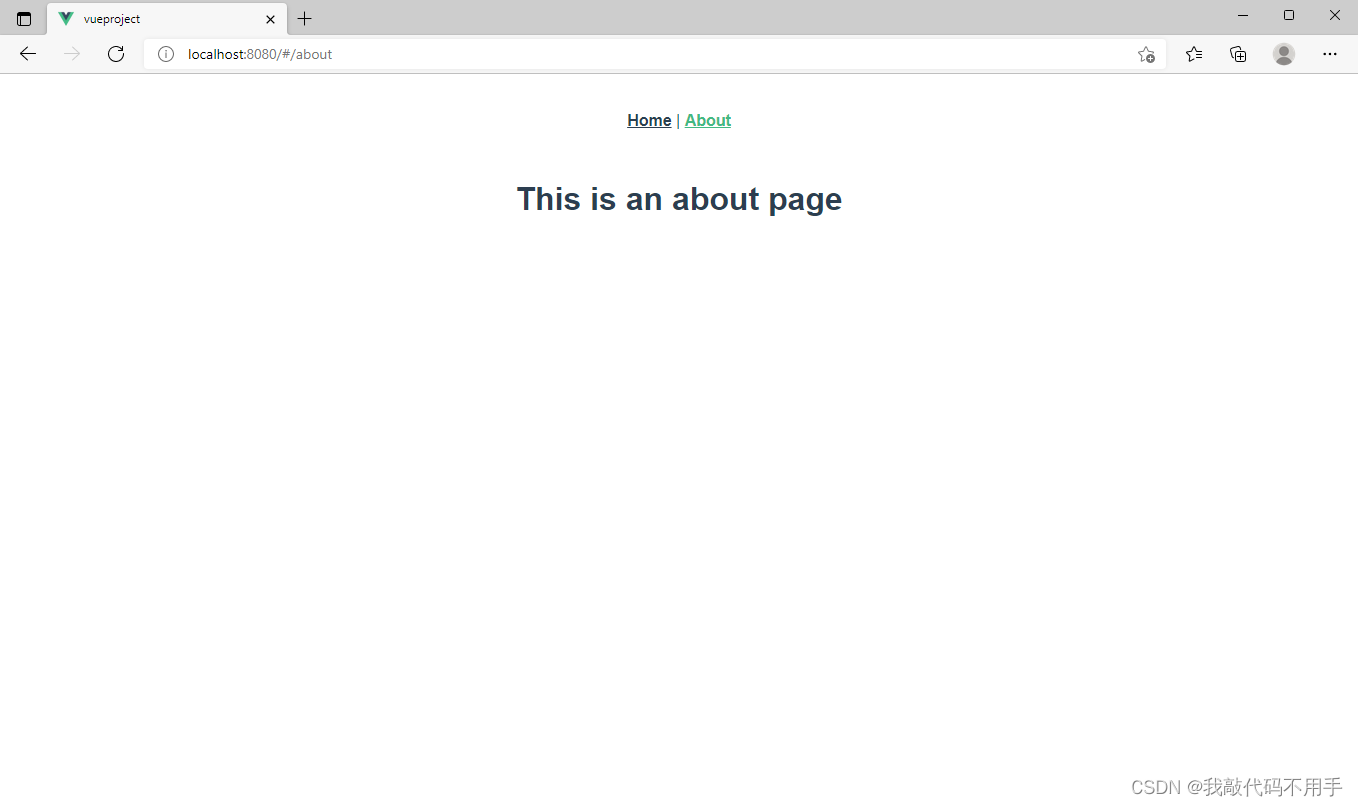
打开项目可以看到路由自动配置了
原文链接:https://blog.csdn.net/weixin_46421519/article/details/122615387
所属网站分类: 技术文章 > 博客
作者:Bhbvhbbgg
链接:http://www.qianduanheidong.com/blog/article/381407/8e79fa7055aeb0bae794/
来源:前端黑洞网
任何形式的转载都请注明出处,如有侵权 一经发现 必将追究其法律责任
昵称:
评论内容:(最多支持255个字符)
---无人问津也好,技不如人也罢,你都要试着安静下来,去做自己该做的事,而不是让内心的烦躁、焦虑,坏掉你本来就不多的热情和定力